How To Draw A Christmas Tree: Your Ultimate Guide To Festive Art!
The holiday season is upon us, bringing with it a magical atmosphere filled with joy, warmth, and creativity. What better way to embrace this festive spirit than by learning how to draw one of its most iconic symbols: the Christmas tree? Whether you're a complete beginner or looking to refine your artistic skills, this guide will walk you through various styles and techniques to create your own holiday masterpiece. So, grab a marker and a piece of paper, and let's dive into the enchanting world of Christmas tree drawing!
Drawing a Christmas tree doesn't have to be daunting. In fact, it can be an incredibly relaxing and rewarding experience. We'll explore everything from simple geometric shapes to more detailed, realistic depictions, ensuring there's a method for everyone. You'll learn how to sketch, color, shade, and decorate your tree, making it truly unique. Get ready to unleash your inner artist and bring some festive magic to your page!
The Foundation: Getting Started with Simple Shapes
Every great drawing begins with a solid foundation, and the Christmas tree is no exception. By breaking down the tree into basic geometric shapes, you'll find the process much easier and more manageable. This approach is perfect for beginners and kids, making it a truly accessible art project.
The Basic Triangle Method
One of the easiest ways to start drawing a Christmas tree is by using a simple triangle. This method forms the backbone of many Christmas tree illustrations, from cartoonish to slightly more realistic ones.
- Start with an Isosceles Triangle: Begin by drawing a large isosceles triangle in pencil in the center of your paper. This will be the main body of your tree. An isosceles triangle has two sides of equal length, making it a stable and symmetrical base for your tree.
- Add a Cylindrical Stump: At the very bottom of your triangle, draw a small cylindrical stump. This will be the tree trunk, providing a sturdy base for your festive creation.
- Refine the Outline: You can keep the triangle as your tree shape for a minimalist or cartoon look, or you can start to add a bit more texture.
This method highlights how a Christmas tree can be broken down into fundamental geometric shapes like triangles and rectangles (for the stump). This approach is very easy to draw and is a fantastic starting point for anyone.
Layering for a Fuller Look
To give your Christmas tree more depth and a classic layered appearance, you can build upon the basic triangle structure. This technique helps create the impression of lush branches without getting bogged down with drawing every single needle or detailed branch.
- Draw Curved Horizontal Lines: From your initial triangle outline, draw about 5 curved horizontal lines spaced out evenly from top to bottom. These lines should extend slightly beyond the triangle's sides, creating the classic tiered look of a Christmas tree. Think of them as soft, wavy lines that define the layers of branches.
- Connect the Layers: Connect the ends of these curved lines with slightly jagged or wavy vertical lines, creating the iconic Christmas tree silhouette. This method offers an easy way to draw the layers of a tree without getting too bogged down with all the detailed branches. The simple sections that get created by these lines give the tree a natural, full appearance.
By following these simple steps, you'll have a beautifully structured Christmas tree ready for the next exciting phase: decoration!
Exploring Different Christmas Tree Styles
The beauty of drawing a Christmas tree lies in its versatility. You can choose from a multitude of styles and techniques, from triangles to zigzags, and from watercolor to potato prints. Let's explore some popular options:
Simple & Cute Designs
If you're aiming for something quick, charming, and easy, simple and cute designs are perfect. These styles often emphasize clean lines, basic shapes, and a playful aesthetic. You can choose from cartoon, minimalist, simple, or cute Christmas tree drawings and follow straightforward instructions with pictures.
- Cartoon Style: Often features exaggerated shapes, bright colors, and expressive details. Think of a tree with big, friendly eyes or a whimsical star.
- Minimalist Style: Focuses on simplicity, using very few lines or shapes to convey the essence of a tree. This can be surprisingly elegant and impactful.
- Cute Style: Often involves softer lines, rounded edges, and adorable embellishments like tiny ornaments or a smiling star. Learning how to draw a cute and simple Christmas tree with a step-by-step tutorial is a popular choice for many.
These styles are excellent for quick holiday cards, children's art projects, or just for a bit of lighthearted fun. You can even print out a template and color your tree however you want, which is great for practice or for younger artists.
Realistic & Detailed Trees
For those who enjoy a challenge and want to create a more lifelike depiction, drawing a festive and realistic Christmas tree is a rewarding endeavor. This often involves more steps and attention to detail, focusing on shading, texture, and natural proportions.
A comprehensive guide might involve up to 18 steps to sketch, color, shade, and decorate your own holiday masterpiece. This includes focusing on the natural flow of branches, the subtle variations in color, and the interplay of light and shadow to give your tree a three-dimensional quality. Learning how to draw a simple or realistic Christmas tree with an easy guide allows you to choose your level of detail and complexity.
Creative Techniques: Beyond the Pencil
Drawing isn't just about pencils and paper. You can explore various mediums and techniques to make your Christmas tree truly stand out:
- Watercolor: Adds a soft, ethereal quality to your tree, perfect for creating dreamy holiday scenes.
- Oil Pastels: Offer vibrant colors and a creamy texture, allowing for rich blending and bold strokes. You can even buy the same oil pastels used in some tutorials to achieve specific effects.
- Potato Prints: A fun, tactile method, especially for kids, where you carve a simple tree shape into a potato, dip it in paint, and stamp it onto paper. This creates charming, rustic tree designs.
Learning how to draw a Christmas tree with different styles and techniques, from triangles to zigzags, from watercolor to potato prints, opens up a world of artistic possibilities.
Bringing Your Tree to Life: Decorations and Color
Once you have the basic shape of your Christmas tree, the real fun begins: decorating it! This is where your tree truly comes to life and reflects your personal style.
Ornaments, Lights, and Stars
No Christmas tree is complete without its dazzling array of decorations. This is your chance to add sparkle and personality.
- Ornaments: Draw various shapes like circles, ovals, and teardrops for ornaments. You can add small hooks at the top of each.
- Lights: Sketch small circles or dots along the branches to represent festive lights. You can even draw a wavy line connecting them to simulate a string of lights.
- A Star on Top: Crown your tree with a beautiful star. This can be a simple five-pointed star or a more elaborate, multi-faceted one. Adding the bottom of the tree and a star on top are crucial finishing touches.
Following an easy step-by-step tutorial to draw a simple and festive Christmas tree with ornaments, lights, and a star makes this process enjoyable and straightforward. You can also customize your tree with different shapes, colors, and sizes of decorations.
Gifts and Garlands
To enhance the festive scene, consider adding elements around and on your tree.
- Presents: Draw the shape of the Christmas tree and the presents beneath it. These can be simple boxes of various sizes. Outline the box tops and add ribbons on the presents to make them look wrapped and ready for gifting.
- Garland: Draw a flowing garland draped across the branches of your Christmas tree. This can be a simple wavy line or more detailed, with small circles representing beads or popcorn.
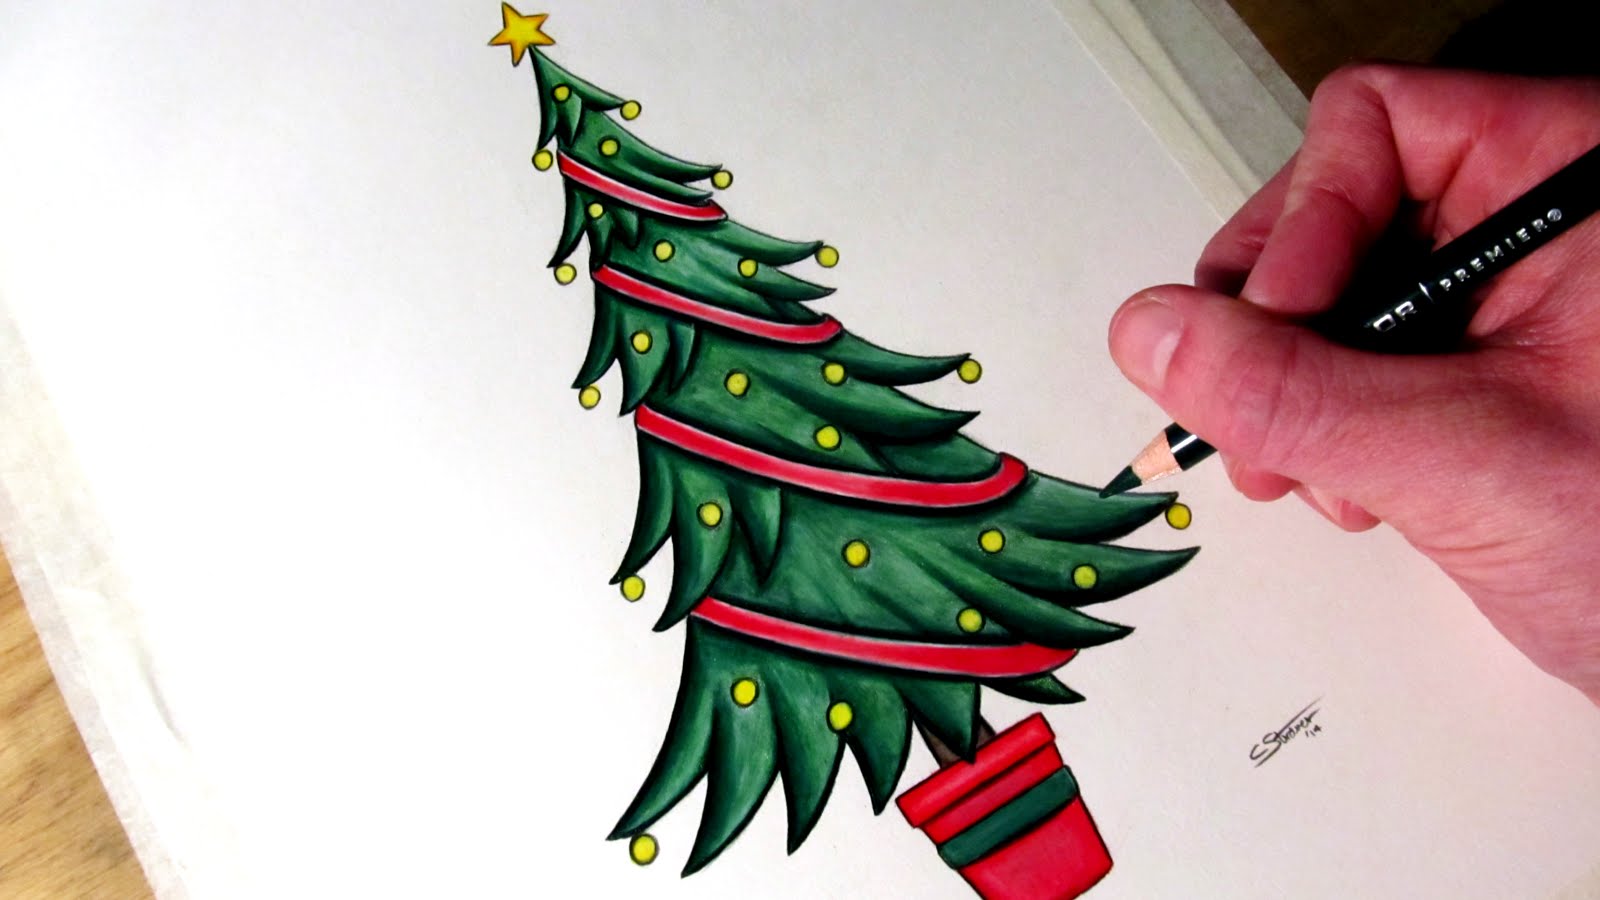
Coloring Your Masterpiece
Coloring is where your Christmas tree truly comes alive. You can use crayons, colored pencils, markers, or even the oil pastels mentioned earlier. Experiment with different shades of green for the tree itself to add depth and realism. Use bright, contrasting colors for your ornaments, lights, and star.
Remember to consider shading to give your tree a three-dimensional look. Think about where light would hit and where shadows would fall. You can also customize your tree with different colors than traditional green, letting your imagination run wild!
Tips for Beginners and Aspiring Artists
Learning how to draw a Christmas tree in easy steps with different styles and decorations is a journey, not a race. Here are some tips to help you along the way:
- Follow Step-by-Step Guides: Many tutorials, including video tutorials, break down the process into manageable steps. Following these instructions with pictures makes the drawing process easier than ever before.
- Practice Makes Perfect: Don't be afraid to make mistakes. Each drawing is a learning opportunity. The more you practice, the more confident you'll become.
- Customize Your Tree: This is your holiday masterpiece! Feel free to customize your tree with different shapes, colors, and sizes of decorations. Make it unique to you.
- Explore Resources: Many online platforms offer free tutorials. For instance, you can find links to other drawing and painting classes, supplies, and projects by doodleacademy, or learn from channels like Draw So Cute which show you the supplies you need and fun art challenges.
- Enjoy the Process: The most important tip is to enjoy the festive magic of creating your own holiday art. Drawing should be a fun and relaxing activity.
Whether you're aiming for a simple, cute, or realistic Christmas tree, these easy guides and step-by-step instructions are designed to help kids and beginners alike create their own festive tree with ornaments, gifts, and more.
Learning the festive art of drawing a Christmas tree step by step is a wonderful way to engage with the holiday spirit. It’s an easy tutorial for creating your holiday masterpiece that you can proudly display or share with loved ones.
Summary:
This guide has provided a comprehensive look into drawing a Christmas tree, starting from basic geometric shapes like triangles and cylinders for the stump, and progressing to layered designs. We explored various styles, from simple and cute cartoon trees to more detailed and realistic depictions, and discussed creative techniques like watercolor and oil pastels. The article also covered how to bring your tree to life with ornaments, lights, stars, presents, and garlands, emphasizing the importance of customization and color. Finally, tips for beginners highlighted the value of step-by-step tutorials, practice, and enjoying the festive art creation process.

How To Draw A Christmas Tree For Kids Step By Step

How to Draw a Christmas Tree (Step by Step Pictures) | Cool2bKids
Christmas Tree Images For Drawing at GetDrawings | Free download
