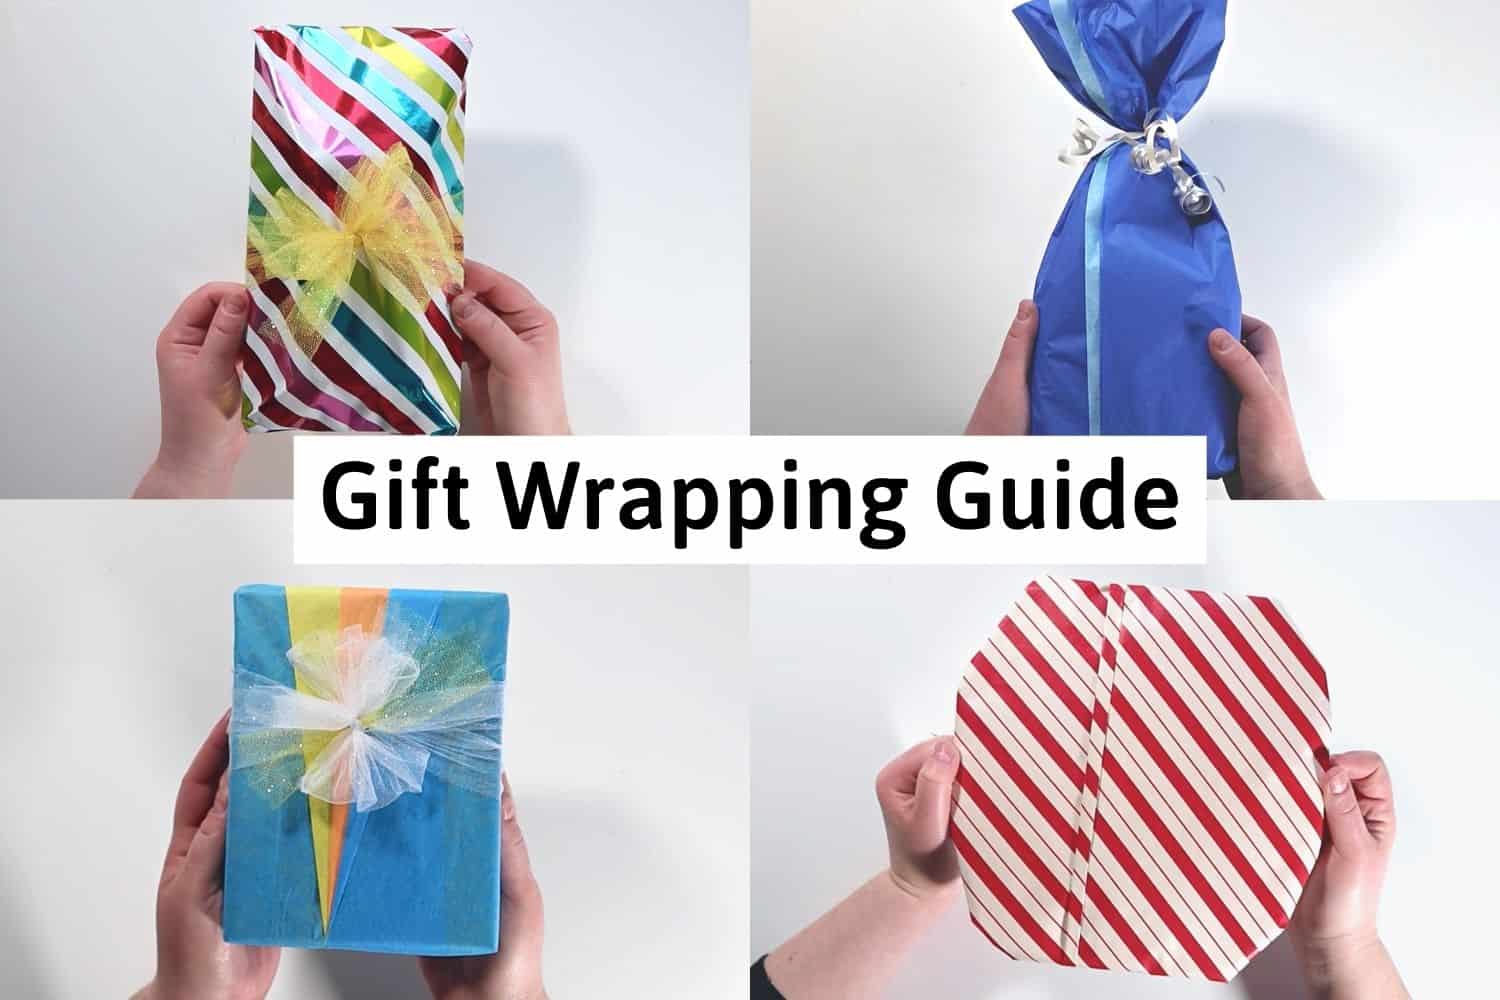
The Ultimate Guide To Perfect Present Wrapping: Make Every Gift Special
Wrapping a present is more than just covering an item; it's a kind gesture that can truly show someone how much you care. It adds an element of surprise and anticipation, making the gift feel even more special to your loved one. For many, the thought of wrapping can evoke groans and the fear of a sloppy job, leading to a reliance on gift bags. But what if we told you that learning how to properly wrap a present is a skill worth having, and it's actually pretty easy to do once you get the hang of it?
You no longer have to rely on a gift bag for fear of being mocked for your sloppy wrapping job, and you can say goodbye to that tangled mess of tape. This ultimate guide will walk you through simple, easy-to-follow techniques that will give your gifts the makeover they deserve, helping you wrap presents perfectly every time, whether it's a simple box or an awkwardly shaped present!
Why Perfect Wrapping Matters
Learning how to properly wrap a present isn't just about aesthetics; it's a valuable skill that elevates the entire gifting experience. As various experts suggest, it's an excellent way to build anticipation and add a sense of occasion to your gifting rituals. A beautifully wrapped gift communicates thoughtfulness and effort, making your family and friends feel extra loved, not only during the holiday season but on special occasions all year round.
It transforms a simple object into a cherished moment, long before the ribbon is untied. Imagine the delight on someone's face when they receive a gift that looks as though it was wrapped by a professional gift wrapper – wrinkle and tear-free, and designed to impress. This attention to detail truly makes the gift feel even more special to your loved one.
Gather Your Gift Wrapping Essentials
Before you dive into the art of folding and taping, gather your materials. Having everything at hand will make the process smooth and enjoyable, helping you achieve that perfect, professional look. Here’s what you’ll need:
- The Present Itself: First things first! As one piece of advice wisely states, "The perfect present is not necessarily an expensive present, but a thoughtful present!" Make sure your gift is clean, any old tags or price stickers are removed or covered, and it's ready to be wrapped.
- Wrapping Paper: Choose a design that suits the occasion and the recipient's personality. Consider the thickness and quality – thicker paper is often easier to work with, less prone to tears, and provides a more luxurious feel.
- Sharp Scissors: This is non-negotiable. Dull scissors will lead to jagged edges and frustration. Invest in a good pair dedicated to wrapping paper for clean, crisp cuts.
- Tape: Clear tape is essential. For a truly seamless and professional look, consider using double-sided tape. It hides the tape lines, making your gift look flawless. A tape dispenser can also speed up the process.
- Ribbon, Bows, or Embellishments: These are the finishing touches that add flair, elegance, and a personalized touch. From simple satin ribbons to elaborate wired bows, these accessories elevate your gift.
- Gift Tags: Don't forget a thoughtful gift tag with a handwritten message. It's the final personal touch that completes the presentation.
Step-by-Step Guide: How to Wrap a Box Perfectly
Now, let's tackle the most common gift shape: the classic box. Follow these step-by-step instructions to wrap a gift that's wrinkle and tear-free, ensuring a perfect presentation that will impress.
Step 1: Prepare Your Workspace and the Gift
Find a clean, flat surface with plenty of room to spread out. A dining table or a large craft mat works perfectly. Ensure your present is clean and free of any debris that could snag the paper.
Step 2: Measure and Cut Your Wrapping Paper with Precision
This is arguably the most crucial step for a professional finish. As our data suggests, "When you cut the wrapping paper, keep the size of the present in mind. Be sure to be generous in the amount of wrapping paper you use as it is better to have more then less." Here’s how to get it right:
- For Length: Place your box upside down on the wrapping paper. Bring one long side of the paper up and over the box to meet the other side. You'll want about 1-2 inches of overlap for a clean, secure seam. Cut the paper to this length.
- For Width: For the ends of the box, you need enough paper to cover them completely. Bring the paper up each short side of the box. You should have enough paper to extend slightly beyond the edges of the box on both ends – ideally, about half the width of the box's side. This allows for neat folding.
Remember, it's always better to have a little too much paper than too little. You can always trim excess, but you can't add more! Cutting precisely helps avoid bulk and wrinkles.
Step 3: Position and Secure the First Side
Place your box face down (or the side you want to be the bottom) in the center
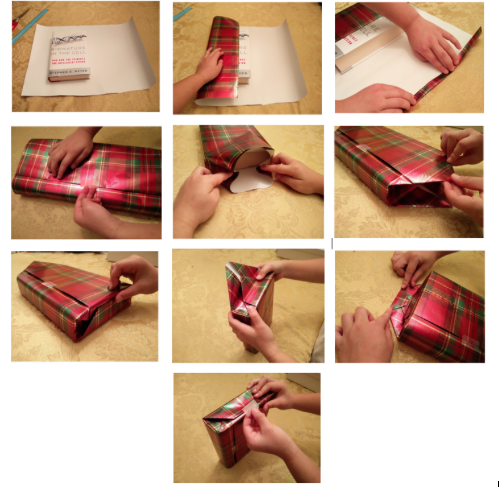
Gift Wrapping Ultimate Guide - How to Wrap a Present - AB Crafty
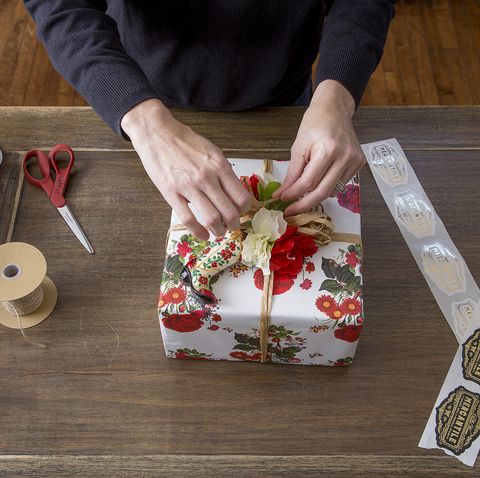
How to Wrap a Present – The Fanfare
How to Wrap a Gift - Best Step-by-Step Guide to Gift Wrapping
